
Have you bought a new Netgear extender for an extended WiFi range? Are you ready to use it? If yes, you need to wait a little longer. Before you could use the new Netgear extender, you need to install it. Hence, you have to perform a Netgear WiFi extender setup to enhance your current WiFi range.
As a first-timer, things might seem intimidating. That is why you should check out the following points. These points will come in handy to do the Netgear WiFi extender setup. Make sure you read till the very end to make the process easier. Keep reading.
Steps to Do Netgear Extender Setup
- Start with unboxing the new Netgear WiFi extender.
- Make sure you assemble the antennas of the extender.
- Turn on your computer.
- Open a web browser on your PC to access the mywifiext.net login page.
- But before that, you should first connect the router with the extender.
- For that, you can connect them via cables or wirelessly.
- Choose a central location to place the extender.
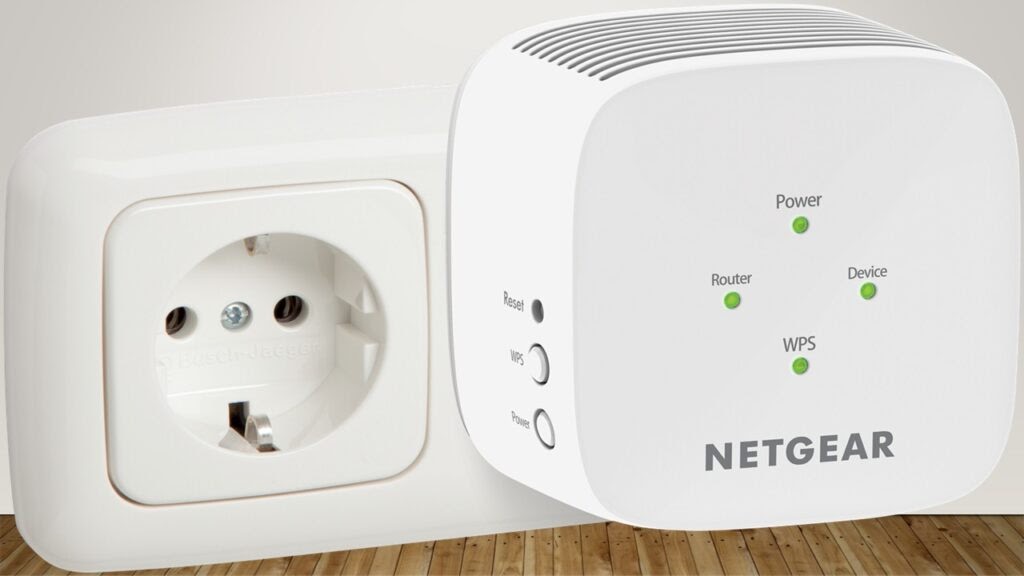
- Connect the extender to the power board and turn it on.
- Further, turn on the power supply from the switchboard.
- Make sure the Power LED is blinking on the Netgear extender.
- After the initial setup, turn to your computer.
- Enter the web address to complete the Netgear WiFi extender setup.
- That will take you to the extender login page.
- Hence, keep the login details ready by your side.
- In case you are not aware of the details, check out the extender manual.
- In short, you have to use the default login details.
- Click the Login button after entering the details.
- Thus, you get access to the Netgear Genie wizard.
- Hence, you can easily change the settings of your extender.
- Further, check out the onscreen instructions that you come across.
- Following the instructions walk you through the setup process.
- Most importantly, click Accept to agree to the terms and conditions.
Doing all that is going to complete the Netgear WiFi extender setup process. Thus, you can now connect your devices to the netgear_ext. This will connect your devices to the extended WiFi signals.
To stay on track, you should keep a few things in check. They are as follows. So, make sure you get through them and keep unnecessary problems at bay.
Important Points to Keep in Check
Remove Interference
One of the major reasons why people face WiFi issues is because of the location of their extender. Most often, the extender is placed in the corner of a house. That is a complete waste of most of the WiFi signals.
Further, placing unnecessary things around the extender reduces its efficiency. So, keep it at a place having nothing interfering with the signals. Hence, remove water sources or objects emitting radio waves away from the extender.
Check Loose Connections
Cables often get loose after using them for some time. That means you might experience fluctuation in the connection. To ensure that does not happen, check the cable connections before initiating the setup process.
More important, check the power supply cables. In case these are loose, it could lead to a short circuit. Hence, it might damage the devices. So, you must check the connections even if you installing new cables.
Firmware Update
Firmware consists of a set of instructions that comes in handy to instruct the device. In some cases, when you complete the setup, there is a firmware update available. Hence, you should update it to access the extended WiFi signals.
Conclusion
Keeping the above-mentioned points will help you complete the Netgear WiFi extender setup process. With that done, you can enjoy a seamless internet connection throughout the house.
More Stories
Enhancing Grocery Shopping with Colored Thermal Shelf Labels
Elevate Your Online Presence: Expert Web Design in Melbourne
Arlo Camera Not Working [Resolved]